For Individuals
 Data Recovery
 File Repair
 Data Erasure
  For Business
 Email Repair
 Email Converter
 Email Migration
 File & Database Repair
  Toolkit
 Forensic
 Lab Services
 Our Partners
 About
About Company
 Leadership
  Media Coverage
 Press Releases
 Career
  Resources
 Case Studies
 Blogs
Blogs  Articles
  Videos
  Support
 Contact us

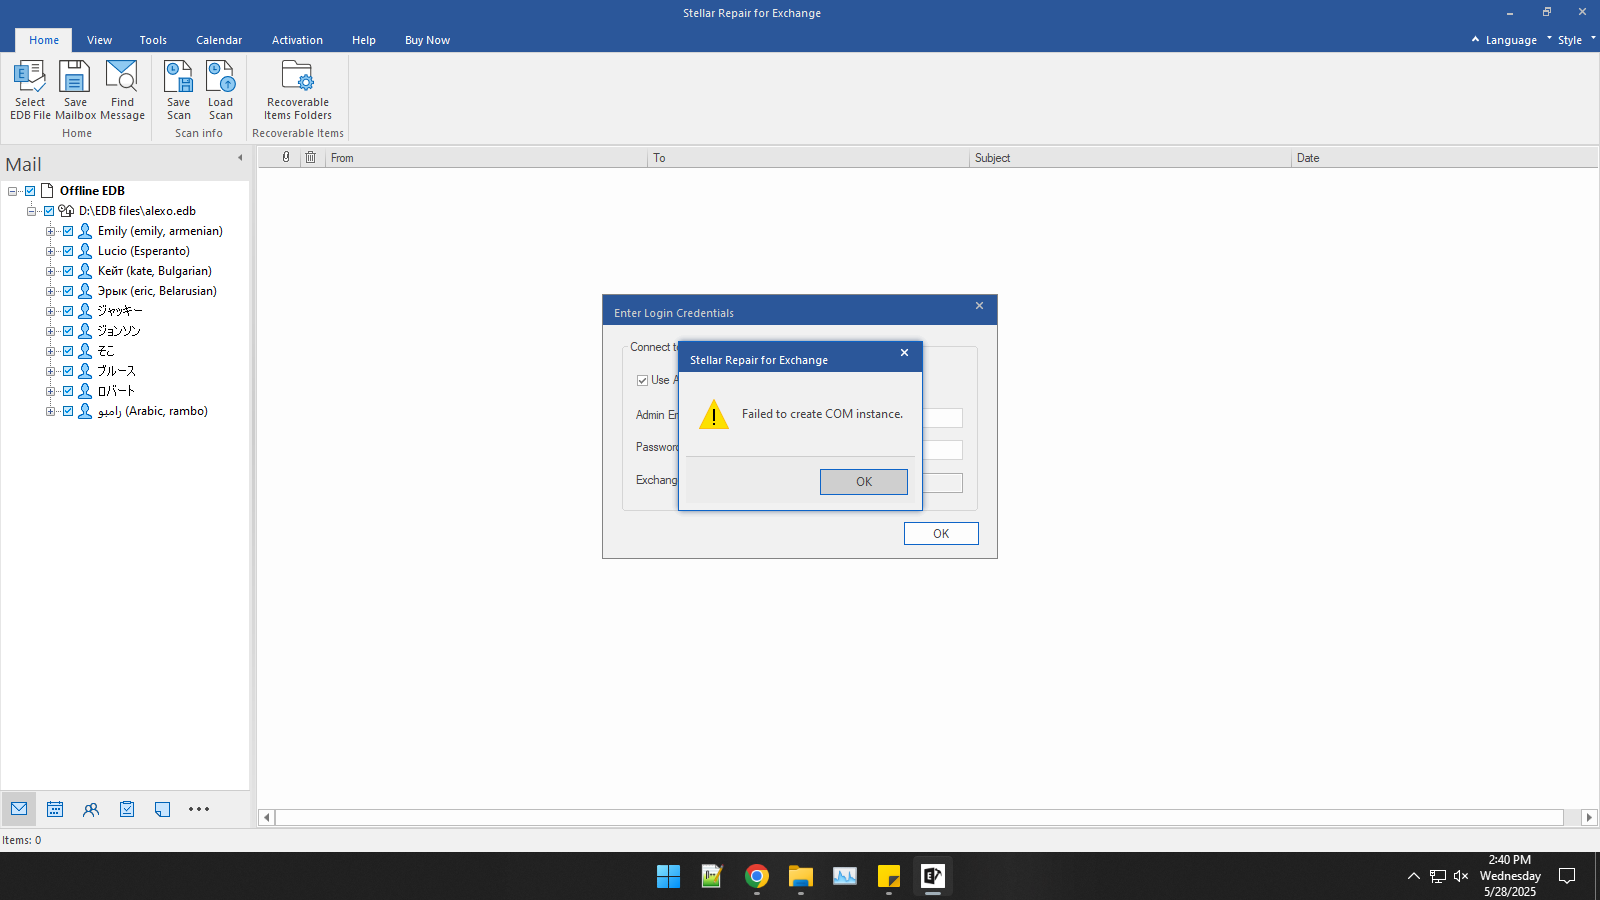
Some applications rely on dynamic link libraries (DLLs) to function properly. If a DLL fails to register during installation—such as StellarEWS.dll from Stellar Repair for Exchange—you may need to manually register it.
This article provides step-by-step instructions for manually registering a DLL using the regasm tool, and also guides you in resolving the related error:
“Failed to create COM instance.”
When to Use This Guide
- Application throws a "COM instance" error after install.
- DLL not registered automatically during setup.
- Manual registration needed for .NET based libraries like StellarEWS.dll.
Steps to Manually Register the DLL
Note: You must have Administrator privileges to perform the following steps.
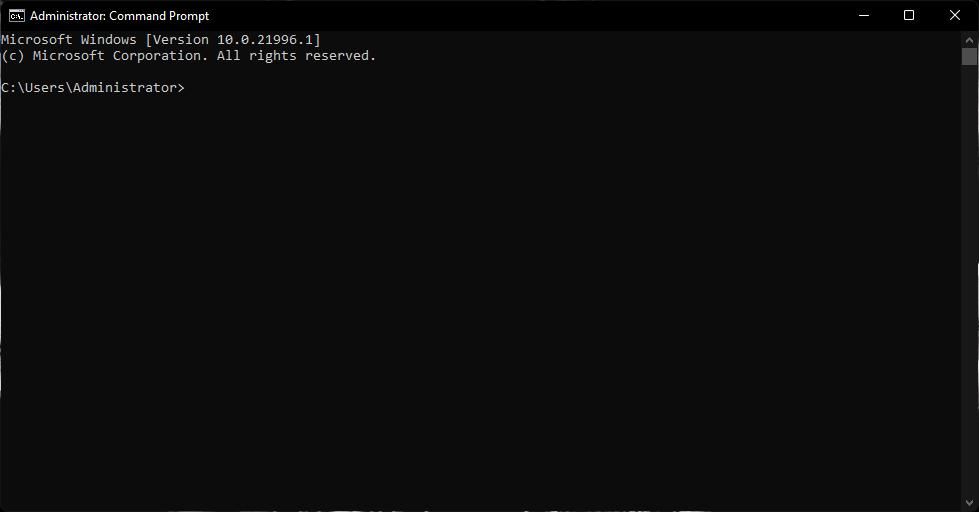
1. Open Command Prompt as Administrator
- Click the Start Menu
- Type CMD in the search bar
- Right-click Command Prompt
- Select "Run as Administrator"
2. Run the Registration Command
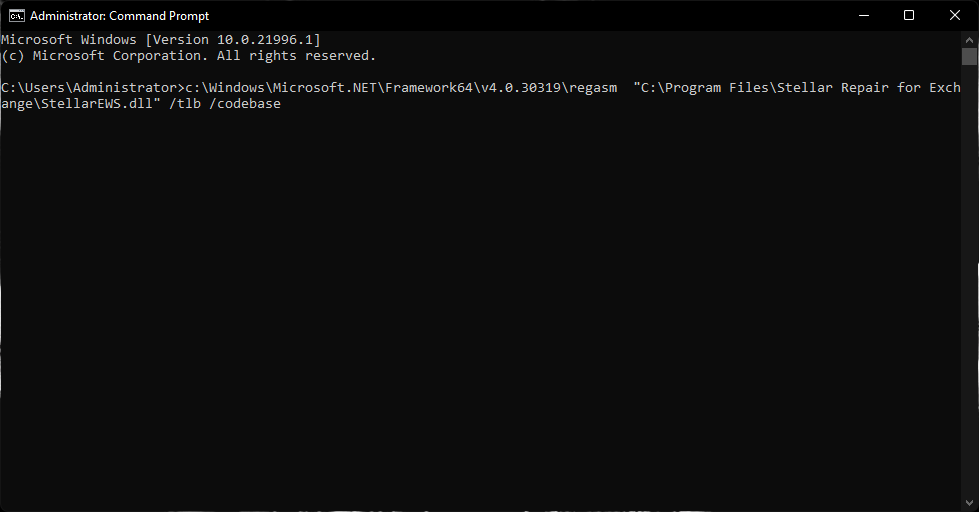
Copy and run the command below:
c:\Windows\Microsoft.NET\Framework64\v4.0.30319\regasm "C:\Program Files\Stellar Repair for Exchange\StellarEWS.dll" /tlb /codebase
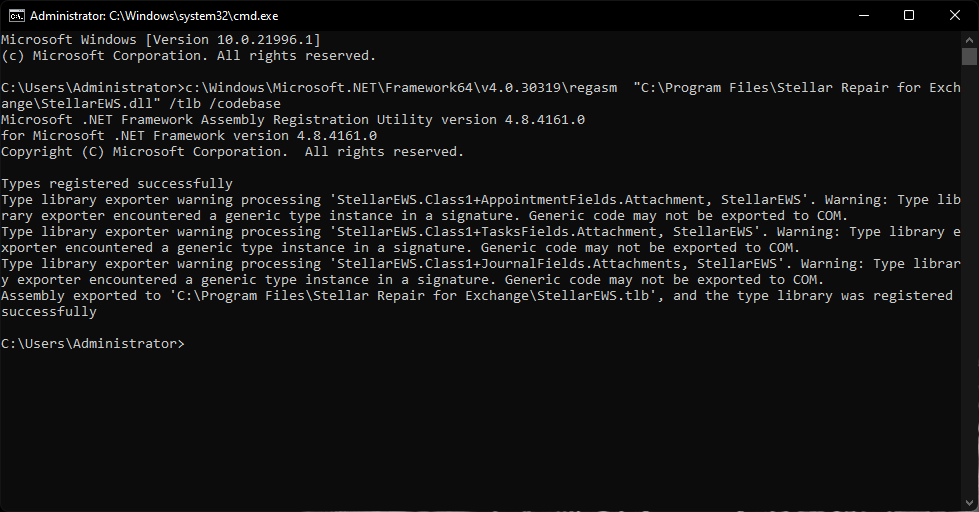
If successful, you will see: “Type Library registered successfully.”
Still Getting an Error?
If after registration, you still encounter the following error:
“Failed to create COM instance”
…it likely means the DLL didn’t register properly or the system cannot access it.
Troubleshooting Steps:
- Ensure you ran Command Prompt as Administrator
- Double-check the file path to the DLL is correct
- Re-run the regasm command to ensure it's registered
- If on a 32-bit system, use this path instead:
c:\Windows\Microsoft.NET\Framework\v4.0.30319\regasm "C:\Program Files\Stellar Repair for Exchange\StellarEWS.dll" /tlb /codebase
- Restart the application or system if needed
Conclusion
Manual DLL registration is a quick fix when setup fails to register required libraries. The regasm tool from the .NET framework is used to register assemblies like StellarEWS.dll that expose COM components.